ICARELIFE — Technical Guide
Operating Theatre Project Execution: A Step-by-Step Technical Guide
A phase-by-phase breakdown of the operating theatre project execution sequence, from floor marking to commissioning — for contractors, EPCs, and consultants planning modular OR fit-out schedules.
Quick Answer
- The operating theatre project execution sequence runs through 10 phases, from floor marking to final commissioning.
- Structural framing and first-fix M&E must close out before wall panel installation to avoid rework.
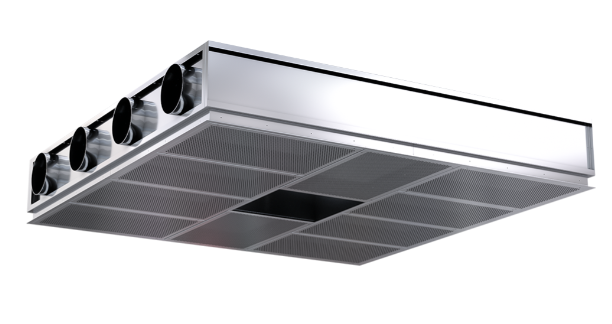
- Ceiling closure requires load verification for surgical pendants before LAF frame and panel fixing.
- Second-fix M&E testing must be confirmed before flooring and final equipment fit-out proceed.
- Wall panel systems vary by region — sub-structure cladding is common in Europe, self-supporting clip-in panels are common across Asia.
Pre-Construction Setup
The operating theatre project execution sequence starts before any structural work — with dimensional control and drawing coordination that determine whether every later phase closes cleanly.
Floor marking and setting out establish the module grid that every subsequent trade builds against. Errors introduced at this stage compound through framing, wall panel alignment, and final door swing clearances — they are the most expensive to correct once concealed.
- Establish a fixed reference datum for level and grid
- Mark wall centerlines, door openings, pendant coordinates, and M&E riser positions
- Confirm tolerances against the structural slab survey before any fixing begins
Accurate setting-out prevents cumulative drift that otherwise shows up as misaligned panels and pendant conflicts later.
Floor Marking / Setting Out
Module grid, wall lines, and door swing zones fixed before any framing begins.
Site Readiness
Slab levelness, ceiling height, and structural benchmark confirmed against design tolerances.
Drawing Coordination
Architectural, M&E, and equipment layout drawings cross-checked for clash before setout is locked.
Sequencing Logic
Each downstream phase depends on setout accuracy — this is the control point for the entire schedule.
Structural & First-Fix M&E
Substructure framing and first-fix mechanical, electrical, and gas rough-in happen before any wall closure — reversing this order is the single most common cause of rework in OR fit-out.
Substructure installation (steel or aluminum stud framing) defines the cavity into which first-fix services are routed. Medical gas pipework, HVAC ductwork, and power/data containment are installed and pressure-tested inside this open cavity, while access for inspection is still possible.
- Install the substructure framework — steel or aluminum stud, per design
- Run first-fix M&E: medical gas pipes, HVAC ductwork, electrical conduits, data routes
- Coordinate routing so services clear the wall cavity and ceiling plenum without clashes
Radiation Protection & Openings
Lead lining and primary door/window frames are installed once the structural cavity is open but before insulation and panel closure, so shielding continuity can still be inspected.
Lead lining is fixed to the framed cavity walls per the radiation protection design, with particular attention to overlap at joints, penetrations, and frame interfaces — gaps at these points are the typical source of shielding failure. Door and window frames are set into the structure at this stage, aligned to the setout grid from Section 1.
- Install lead lining to walls and designated surfaces per the radiation shielding plan
- Fix door and window frames into the structure — not into the panels — so loads transfer correctly
- Verify frame plumb and shielding continuity at every joint
Frames set into the structure at this stage receive their finished leaves in Section 7, avoiding frame distortion from panel loads.
Envelope & Partition System
With services and shielding in place, rockwool insulation and hygienic wall panels close the envelope and establish the room's airtightness.
Rockwool is fitted between studs for acoustic and thermal performance, followed by wall panel installation — typically a steel-faced or HPL-faced hygienic panel system fixed to the substructure.
- Place rockwool or specified insulation within the cavity for acoustic and thermal performance
- Install modular wall panels, sealing joints to maintain the airtight barrier
- Check panel alignment against the original setting-out lines from Section 1
Panel fixing tolerances at this stage also determine how cleanly doors, control panels, and pendant brackets fit in later phases — misaligned panels are a recurring source of punch-list items at handover.
A continuous, sealed envelope is what makes the room pressure-controlled and cleanable.
Wall Cladding (Sub-Structure) vs. Self-Supporting Clip-In Panels
The sequence above describes a wall cladding panel system built on a sub-structure — rockwool and panel fixed to a framed cavity, as covered in Sections 2–4. This is not the same system as a self-supporting clip-in wall panel, which locks panel-to-panel without a separate framed sub-structure underneath. The two follow different installation logic and are not interchangeable mid-project.
Wall Cladding with Sub-Structure — if:
- Project follows European or EN-referenced specification standards
- Cavity access is needed for service revisions after handover
- More common in Europe and markets shaped by European contractors (e.g. parts of the Middle East, North Africa)
Self-Supporting Clip-In Panel — if:
- Faster on-site install is the priority, with less field labor and framing trade required
- Project timeline favors prefabrication over on-site sub-structure build
- More common across Asia — notably India and China — largely due to installation speed
Ceiling Infrastructure
Ceiling grid framing and pendant support installation must be structurally verified before the ceiling is closed — this is the last point of open access to load-bearing points above the room.
Pendant supports for surgical lights, anesthesia booms, and equipment pendants are fixed to the primary structure, not the ceiling grid itself. Ceiling grid framing then infills around these support points, ready to receive LAF frames and finish panels in the next phase.
- Install independent pendant support structures anchored to the building slab, not to the ceiling panels
- Build the ceiling grid framework to the verified layout
- Load-test supports before any equipment is hung
Pendant and light loads must never rely on the decorative ceiling — structural independence is non-negotiable.
Laminar Airflow & Ceiling Finish
The laminar airflow (LAF) frame and ceiling panels are installed once structural load points are confirmed, integrating directly with the HVAC and filtration system above.
The LAF frame is fixed within the verified ceiling grid, with sealing at the frame-to-ceiling interface controlling both air leakage and particulate ingress.
- Fix the LAF diffuser frame to the ceiling grid
- Install ceiling panels around it, maintaining a flush, sealed surface
- Integrate the terminal with the HVAC supply and HEPA filtration train
Because the LAF unit ties directly into the HVAC supply, this phase should be coordinated closely with the mechanical contractor — duct connections and filter housing access need to be confirmed before panels close the void above.
Correct LAF geometry is what delivers unidirectional airflow over the operating field.
Final Openings & Second-Fix M&E
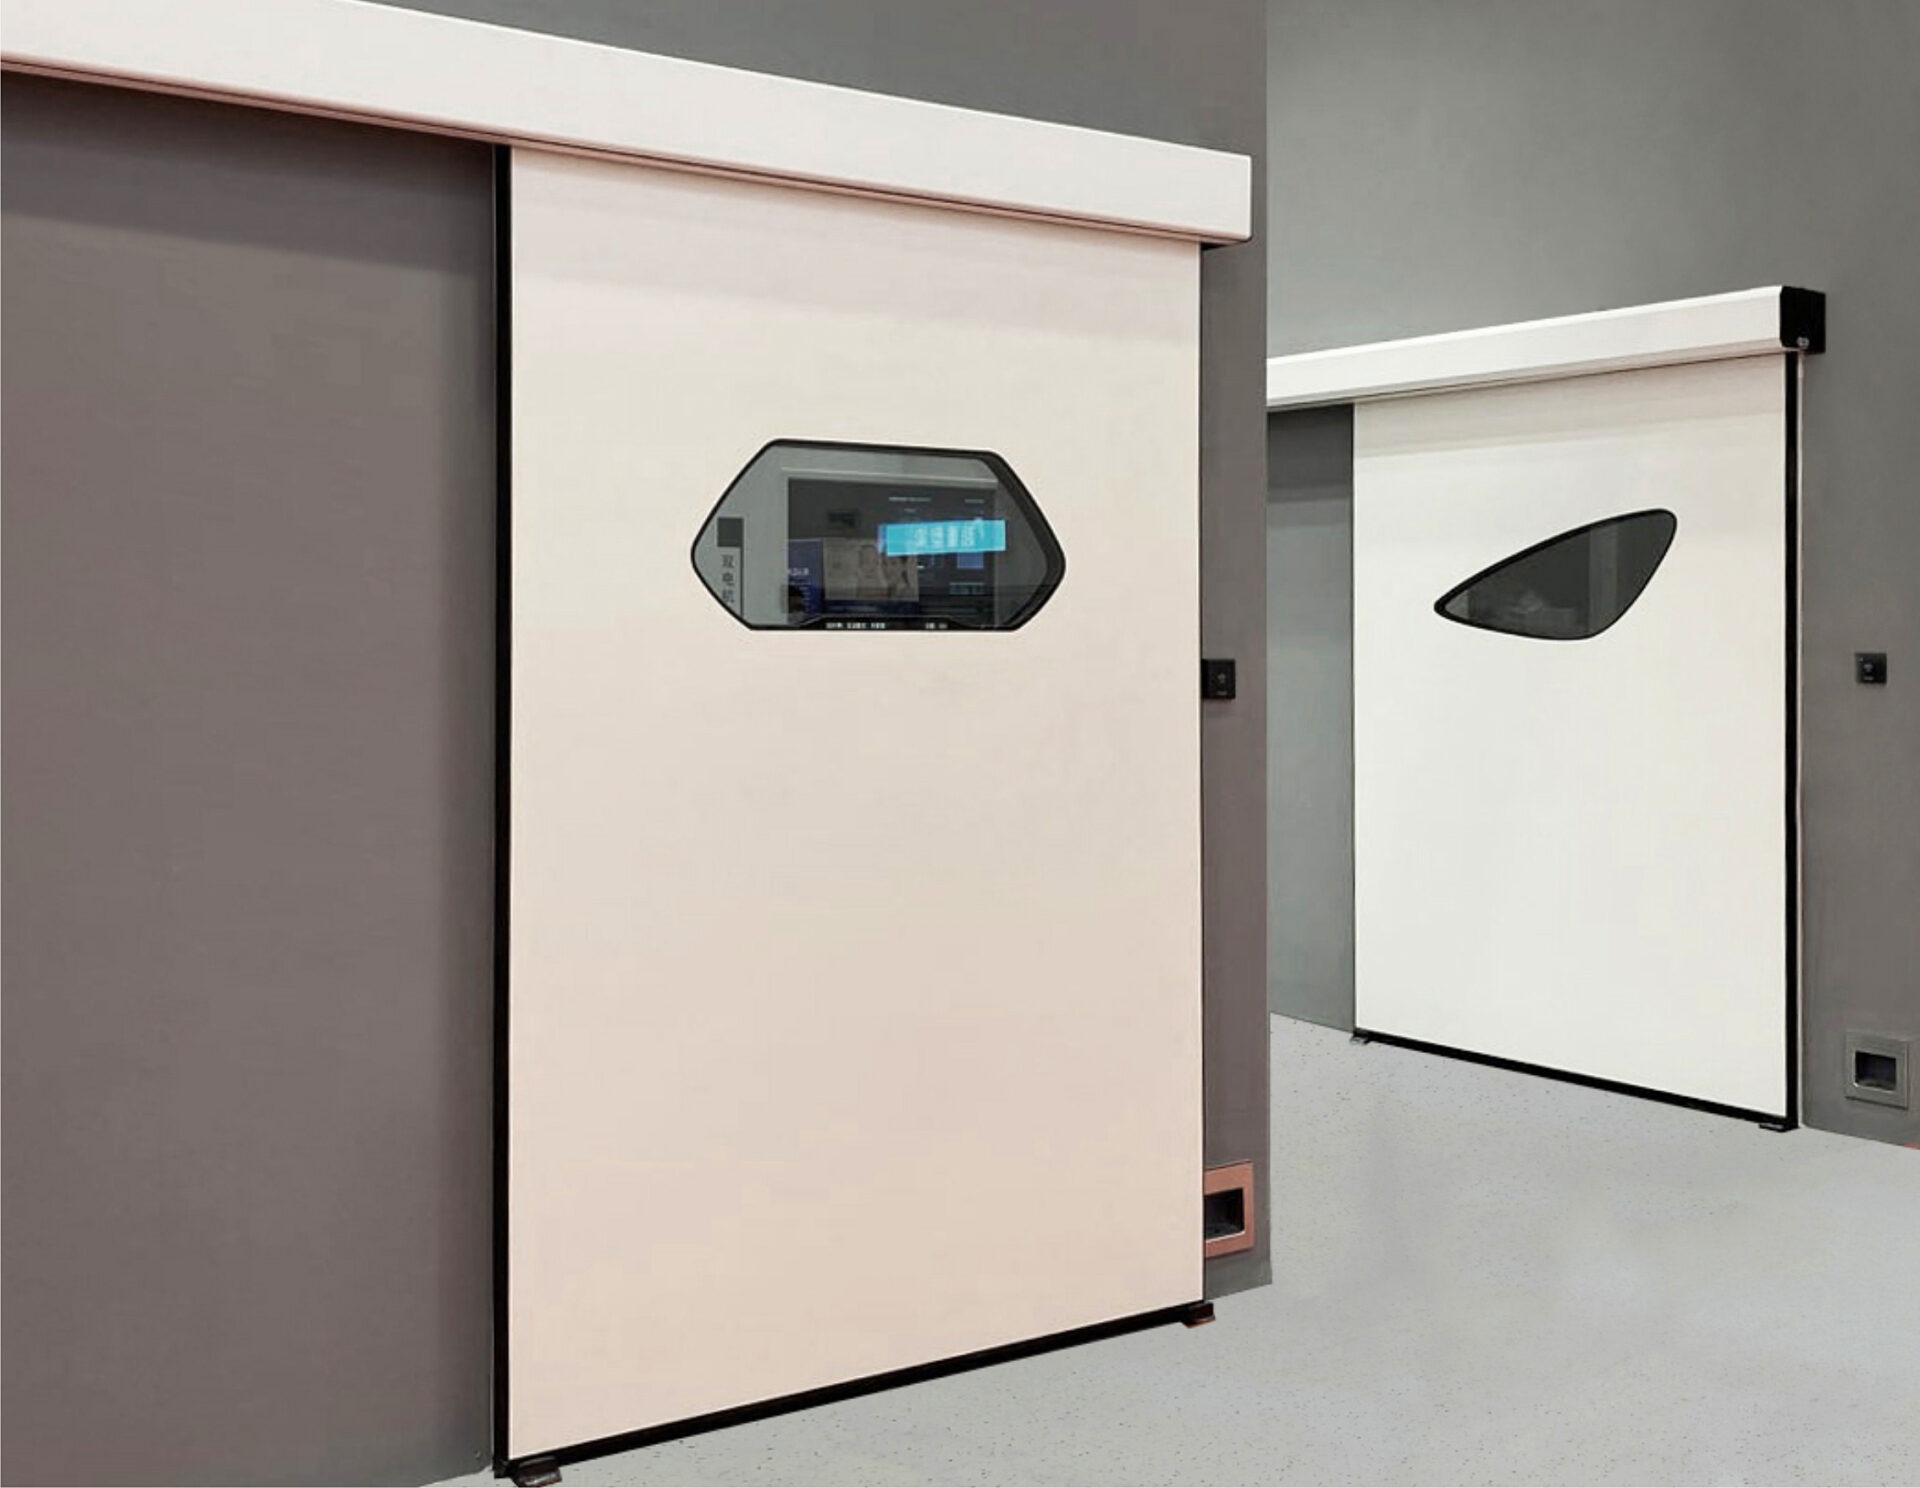
Doors and windows receive their final fix, and all second-fix M&E — power, data, gas outlets, and control panels — is installed and tested before the room moves into finishing trades.
Hermetic doors are hung and adjusted for seal compression at this stage, along with any observation windows. Second-fix M&E covers outlet plates, surgical control panels, and terminal gas points, all of which require functional testing before flooring begins — testing after flooring installation risks damage to the finished surface.
- Hang finished doors and fit glazing into the frames set in Section 3
- Carry out M&E second fix: outlets, controls, medical gas terminals, data points, lighting
- Test circuits, gas lines, and controls individually before system integration
This stage turns a constructed shell into a functional, serviced room.
| System | Test Type | Purpose |
|---|---|---|
| Medical gas | Pressure decay test | Confirm no leakage at outlets and joints |
| Power & data | Continuity / load test | Confirm circuits live and correctly zoned |
| Surgical control panel | Functional test | Confirm switching, dimming, and interlocks operate |
| HVAC / LAF | Airflow & pressure test | Confirm room pressure cascade before flooring |
Flooring & Hygiene Stations
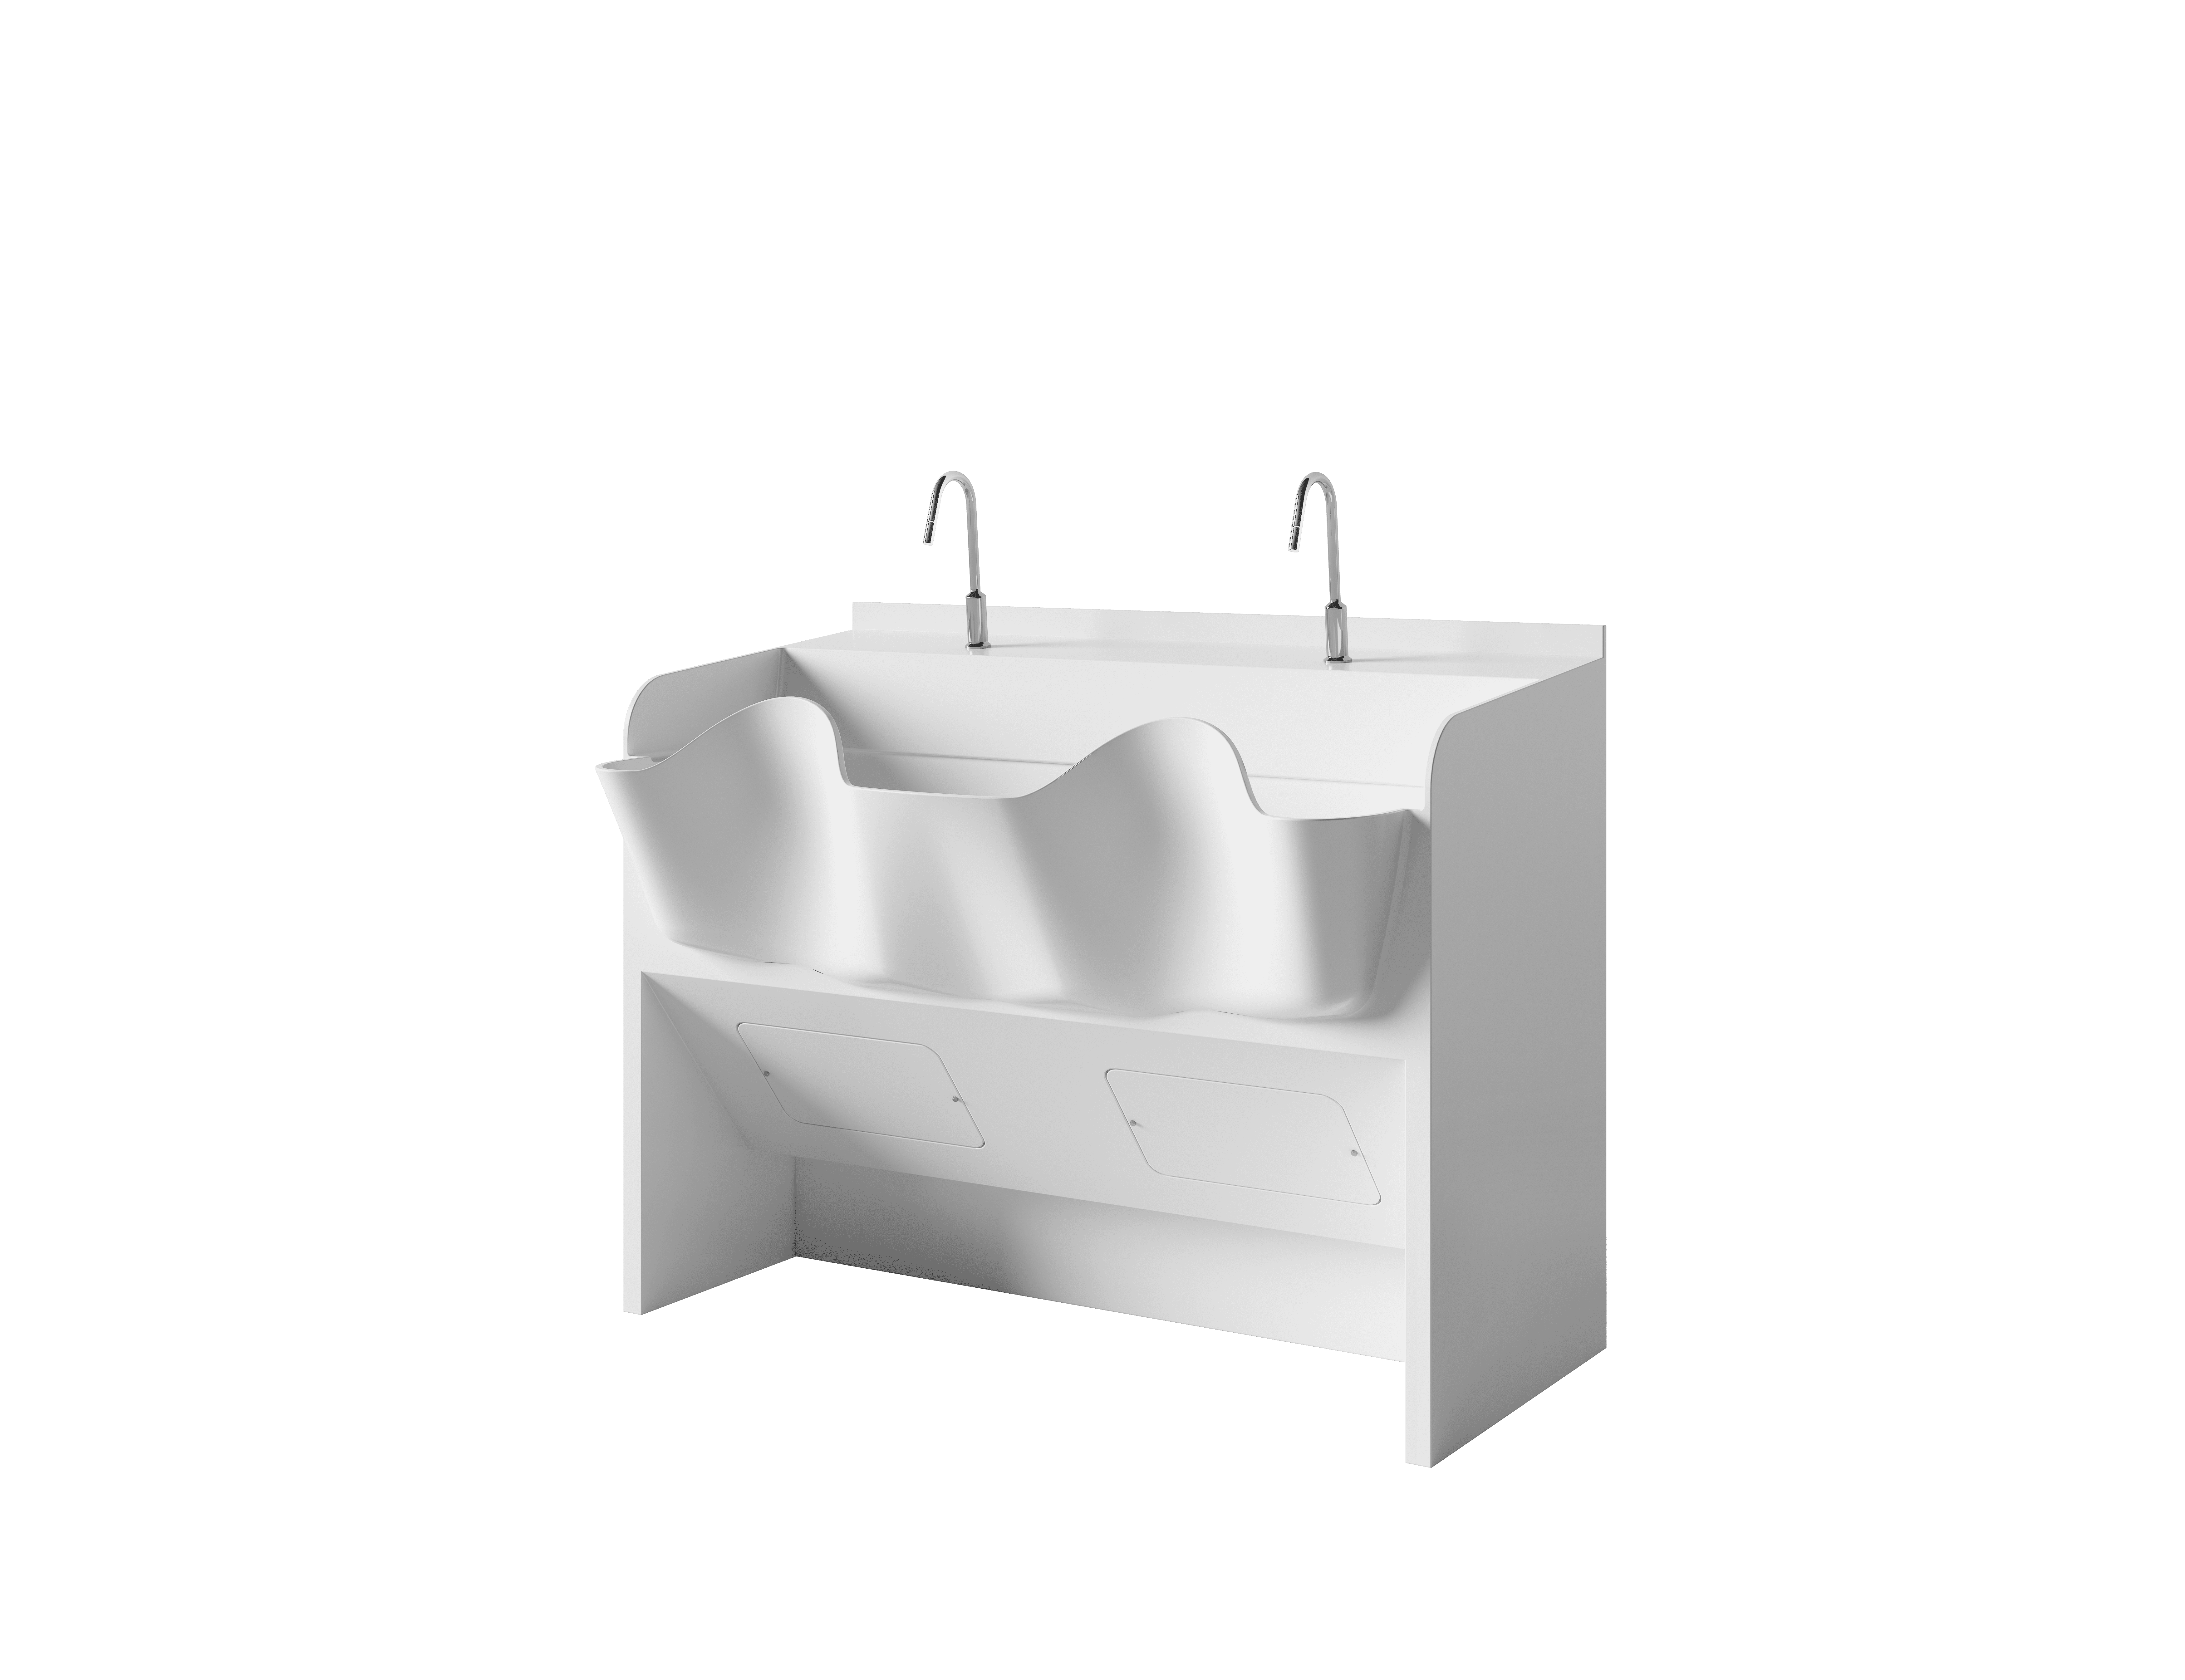
With second-fix M&E tested and confirmed, vinyl flooring and scrub stations are installed as one of the final structural trades before fit-out.
Seamless vinyl flooring is welded at joints and coved up the wall base to eliminate collection points for contamination — a standard requirement for OR-grade hygienic flooring.
- Lay seamless vinyl flooring with welded seams and coved skirting to eliminate dirt traps
- Verify slip resistance and chemical compatibility for theatre use
- Install scrub stations and associated plumbing to specification
A properly welded floor is as critical to hygiene as the ceiling above it.
Fit-Out & Equipment
Built-in cabinetry and medical equipment positioning close out the physical fit-out, ahead of final commissioning.
Built-in storage cabinets, supply units, and fixed casework are installed against the finished walls and flooring. Medical equipment — booms, tables, and imaging where applicable — is positioned and secured to the load points confirmed back in Section 5, closing the loop between structural planning and final equipment placement.
- Fit built-in cabinets, booms, and storage to the panel system
- Position and connect medical equipment per the equipment schedule
Commissioning, not construction completion, is the real finish line — covered next in Section 10.
Modular OR Wall Panel Systems: Design & Installation Guide
A deeper look at sub-structure cladding vs. self-supporting clip-in panel selection, seam sealing, and fixing tolerances referenced in Section 4.
Commissioning & Handover
The final phase confirms every system installed across Sections 2–9 performs to design, before the room is signed over to the client. Sequence discipline through all 10 phases is what protects this step — a room built out of order rarely commissions cleanly on the first pass.
-
1Pre-handover inspection
Walkthrough against the approved design, checking finishes, seals, and fixed equipment positions.
-
2Test & balance documentation
HVAC air changes, room pressure cascade, and filtration performance recorded and filed for client and regulator review.
-
3Client sign-off & warranty activation
Formal handover documentation issued, with warranty terms activated from the sign-off date.
Common sequencing errors that cause rework
- Wall panels closed before first-fix M&E is fully routed and tested (Section 2)
- Ceiling grid closed before pendant load points are confirmed against equipment specs (Section 5)
- Flooring installed before second-fix M&E functional testing is complete (Section 7)
Frequently Asked Questions
Floor marking sets the module grid that every later trade builds against, including wall framing, door positions, and equipment layout. Starting substructure work before setout is locked risks dimensional drift that compounds through the rest of the sequence.
First-fix M&E — gas, power, HVAC, and data routing — should always be installed and tested while the wall cavity is still open. Wall panels close over this work; correcting an error after panel installation requires demolishing finished surfaces.
Ceiling closure depends on confirmed structural load points, which must happen before finishing trades. Final door hanging and second-fix M&E follow once the ceiling and envelope are closed, so testing and adjustment aren't disrupted by later overhead work.
Site duration varies with room count, prefabrication level, and site access, so a single figure isn't reliable across projects. What stays consistent is the phase order in this guide — sequencing errors, not raw duration, are the most common cause of schedule slippage.
The three most common causes are closing wall panels before M&E first-fix is tested, closing the ceiling before pendant load points are confirmed, and installing flooring before second-fix M&E functional testing is complete. Each requires demolishing finished work to correct.
Wall cladding panels are fixed to a framed sub-structure, as described in Section 4 — the method more common in Europe and European-influenced markets. Self-supporting clip-in panels lock together without a separate sub-structure, favored across Asia (notably India and China) for faster on-site installation. The two are not interchangeable within the same sequence.
At minimum: pre-handover inspection records, HVAC test-and-balance data (air changes, room pressure cascade, filtration performance), and formal client sign-off tied to warranty activation. These documents are typically required for both client acceptance and regulatory review.
ICARELIFE Technical Team
Healthcare infrastructure specialists with extensive experience in modular operating theaters, medical cleanrooms, and MEP system integration. ICARELIFE — Innovating Spaces That Heal.
Related Solutions from ICARELIFE
This guide is part of ICARELIFE's Modular OR resource series — see the full solution and related system guides below.
ICARELIFE — Modular OR
Planning an operating theatre fit-out?
ICARELIFE integrates the full operating theatre execution sequence — hermetic doors, wall systems, laminar airflow ceilings, MEP coordination, and the ORCHEX™ control platform — into a single accountable scope for contractors and EPCs.